 1992 CD
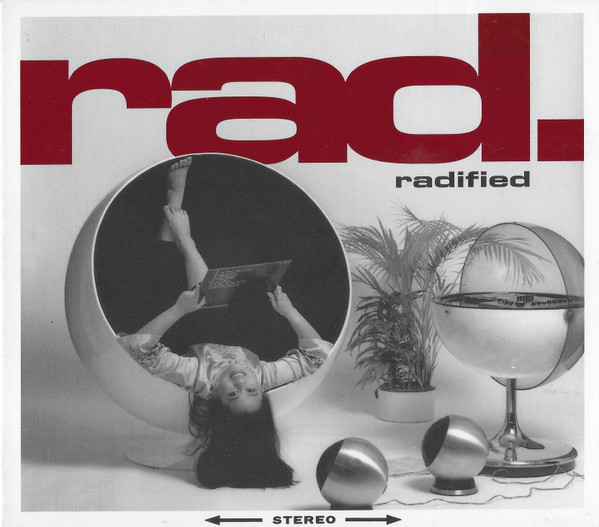
Soulciety Records
tracks 2, 8 alto saxophone Matthias Gruber
tracks 5, 6, 8, 9 arranged by Michael Kirsch
tracks 3, 6 backing vocals Conor Smith
tracks 3, 6 backing vocals Corinna "Miss Cee" Ludzuweit
tracks 3, 6 backing vocals Michael Kirsch
tracks 2, 8, 10 backing vocals Romona Wong
tracks 3, 6 bass Ernie McKone
bass Sören Böhme
tracks 3, 6 drums Crispin Taylor
drums Mathias Trippner
tracks 4 flute Matthias Gruber
guitar Sven Waje
tracks 3, 6 guitar, backing vocals Michael McEvoy
tracks 3 to 10 mixed by Alex Osman
tracks 1, 2 mixed by Michael Kirsch
tracks 3 to 10 mixed by Soulciety
percussion Corinna "Miss Cee" Ludzuweit
photography by [cover photo] Uwe Klees
producer, sleeve, design [sleeve design] Soulciety
tracks 3, 6 recorded by Alex Osman
tracks 3, 5 to 7, 9 recorded by Michael Kirsch
sleeve, design [sleeve design] Tim Krink
tenor saxophone Birdy Jessel
tracks 3, 6 tenor saxophone, flute Jacko Peake
tracks 3, 6 trumpet Damon Brown
tracks 3, 6 vocals, backing vocals Eddie Saunders
tracks 6 written-by Michael Kirsch
written-by, arranged by, keyboards, lead vocals, backing vocals Rad.
Distributed By EWM (2)
Phonographic Copyright (p) Edition Soulciety
Phonographic Copyright (p) Freibank Musikverlage
Copyright (c) Edition Soulciety
Copyright (c) Freibank Musikverlage
Recorded At White Noise Studio, Hamburg
Recorded At Attic Sound Studio
Mixed At Attic Sound Studio
Mixed At White Noise Studio, Hamburg
Pressed By DADC Austria
Released in a gatefold digipak sleeve.
℗ & © 1992 Edition Soulciety/Freibank Musikverlage
The Ketjak dance sample on track 4 is taken with humble respect to the people of Bali. Push appear courtesy of Boogie Back Records. Globe chair furnished by Wohnstudio Steinkamp GmbH, Hamburger Str. 144, 2000 Hamburg 76.
No music publisher details stated on this release.
Barcode: 4 015434 000522 (Text)
Barcode: 4015434000522 (Scanned)
Label Code: LC 7360
Matrix / Runout: ME-005-92 12 A4 DADC AUSTRIA (Variant 1)
Matrix / Runout: ME-005-92 12 A2 DADC AUSTRIA (Variant 2)